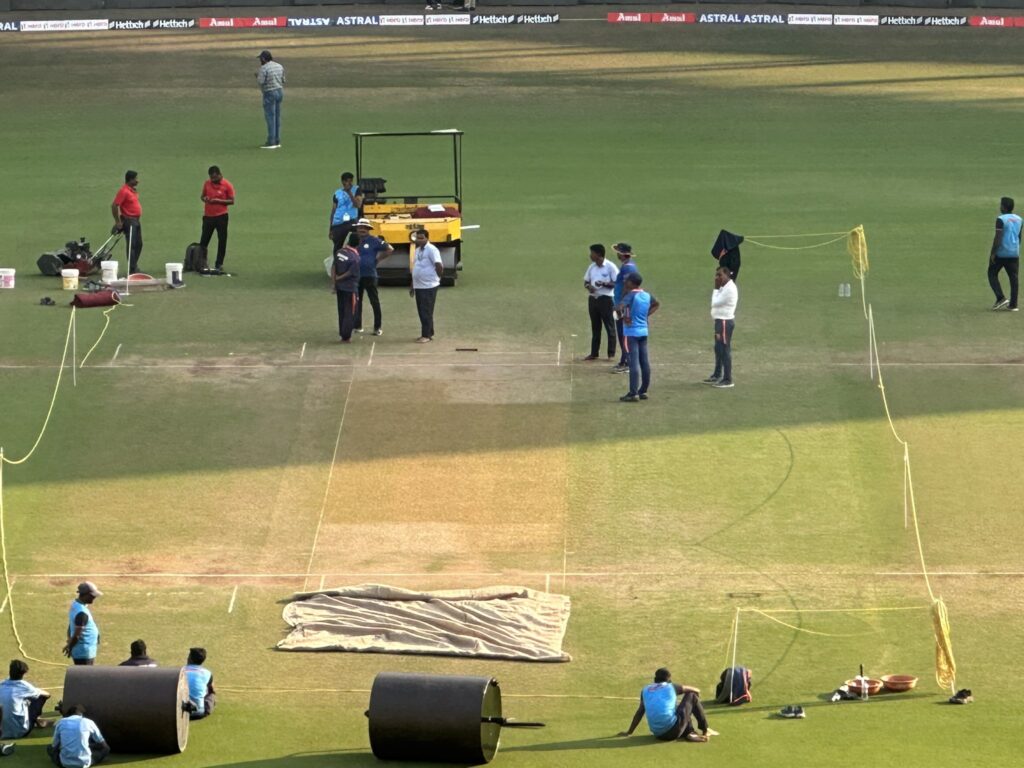
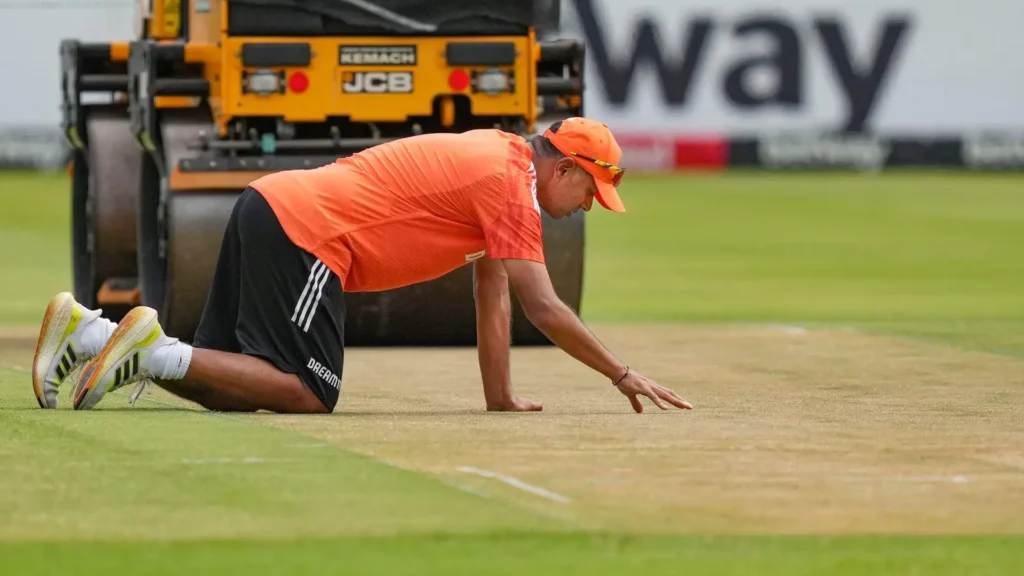
Cricket, a beloved sport worldwide, owes much of its excitement to the quality of the cricket pitch. But have you ever wondered how are Cricket pitches made? In this detailed guide, we’ll walk you through the entire process of making a cricket pitch, from selecting the right soil to match preparation and maintenance.

Table of Contents
Understanding Cricket Pitches

Before diving into the details of pitch construction, let’s understand what a cricket pitch is. The cricket pitch is the central strip of the cricket field between the wickets, measuring 22 yards long and 10 feet wide. It’s where most of the action happens, as bowlers deliver balls to batsmen, and its condition can greatly influence the outcome of a match.
Types of Cricket Pitches
Cricket pitches come in various types, each offering unique challenges and advantages:
- Green Pitch: These pitches, characterized by longer or more moist grass, favor seam bowlers. Spinners may struggle due to the lack of assistance from the pitch.
- Dusty Pitch: Dusty pitches offer more grip to the ball, making them ideal for spin bowlers. However, batsmen can still perform well due to the predictable bounce.
- Dead Pitch: Designed for limited-overs cricket matches, dead pitches offer little assistance to bowlers, resulting in high-scoring games.
Soil Selection and Characteristics
The soil used in pitch preparation plays a crucial role in its performance. Different soils have varying characteristics:
- Black Soil (Clay): Provides good binding qualities but may retain excess water.
- Red Soil: Offers quicker drying properties due to greater porosity.
- Morrum Soil: Possesses good binding properties and is slightly yellowish in color.
Pitch Preparation Process
Creating a cricket pitch is a meticulous process that involves several carefully executed steps. Let’s delve into each stage of the preparation process:
- Measuring and Marking
- The first step in preparing a cricket pitch is to measure and mark out the dimensions according to regulations.
- The pitch should be 22 yards (20.12 meters) long and 10 feet (3.05 meters) wide.
- Groundsmen use strings and mowers with thin bottom blades to outline the pitch accurately.
- Base Construction
- Once the pitch area is marked, the base construction begins.
- Groundsmen lay bricks in two layers, with each layer pointing in a different direction, to form a solid foundation.
- A thin layer of charcoal and fine sand is then spread over the bricks to fill gaps and aid drainage. This layer also helps in quick drying of the pitch after rain.
- Soil Mixture Application
- The next step involves the application of soil mixtures, which are crucial for the pitch’s performance.
- A soil mixture comprising black clay soil, red soil, morrum, and manure is prepared in specific proportions.
- This mixture is spread evenly over the base, ensuring complete coverage and uniformity.
- Grass Seeding
- Wet grass is spread over the prepared surface to initiate the growth of turf.
- Another layer of soil mixture is applied over the grass to provide additional nutrients and support for growth.
- This process promotes the development of a lush green playing surface.
- Watering and Rolling
- Regular watering is essential to maintain optimal moisture levels for grass growth.
- Groundsmen use sprinklers or hose pipes to water the pitch twice daily, preferably in the morning and evening.
- Care is taken to avoid overwatering, as excessive moisture can lead to unevenness or damage to the pitch.
- Rolling the pitch with a light roller helps in compacting the soil, leveling the surface, and promoting turf firmness.
- Groundsmen adjust the frequency, timing, and weight of the roller to achieve the desired level of firmness without damaging the grass.
- Maintenance and Growth
- As the grass begins to grow and spread, daily maintenance tasks become crucial.
- Light rolling is continued to ensure even growth and firmness of the pitch.
- If necessary, manured water or fertilizer may be sprinkled to stimulate grass growth, but care must be taken to avoid overuse.
- Regular watering, mowing, and rolling help maintain the pitch’s integrity and playing quality.
- Pre-Season Preparation
- Before the start of the season, pre-season rolling is essential to produce fast and firm pitches.
- Groundsmen gradually increase the weight of the roller to consolidate the surface to a depth of about 4 inches.
- Selection of the right type of grass and regular maintenance practices contribute to pitch quality and performance.
- Preparation Prior to Matches
- In the days leading up to a match, specific preparations are made to ensure the pitch is in optimal condition.
- Heavy roller usage is restricted, and medium-weight rollers are preferred to maintain pitch firmness.
- Watering is gradually reduced, leaving some grass on the pitch to provide pace and bounce.
- Mowing is done to match height, ensuring the surface is not scarred or disturbed.
- Repair and Aftercare
- After a match, the pitch requires proper treatment to facilitate recovery and maintain its condition.
- Any patches or spots are treated with the same soil mixture used during preparation.
- Vigorous brushing removes loose soil and debris, while worn bowler’s footholds are filled in.
- Light dressing of manure and watering aid in pitch recovery and regeneration.
- Outfield Maintenance
- The outfield surrounding the pitch also requires attention to ensure a level, grassy surface.
- Rolling with a suitable roller helps in achieving evenness and speed.
- Regular weed control prevents the growth of unwanted vegetation that can damage the playing surface.
Pitch Preparation Timeline
Preparing a cricket pitch involves a detailed timeline leading up to match day. Here’s a step-by-step guide to the preparation process, outlining tasks and activities at different stages:
4 Weeks Before Match Day
- Assess the condition of the pitch area and ensure it is free from debris and obstacles.
- Begin mowing the pitch area to maintain grass height at an optimal level for subsequent preparation stages.
- Water the pitch area as needed to promote healthy grass growth and maintain adequate moisture levels.
- Conduct soil tests to determine nutrient levels and pH balance, making any necessary adjustments to improve soil quality.
3 Weeks Before Match Day
- Continue regular mowing of the pitch area to encourage grass growth and maintain a uniform surface.
- Apply fertilizers or soil conditioners as recommended based on soil test results to provide essential nutrients for grass health.
- Monitor moisture levels closely and adjust watering frequency to prevent under or overwatering of the pitch area.
2 Weeks Before Match Day
- Conduct any necessary repairs or leveling of the pitch area to ensure a smooth and even surface.
- Begin rolling the pitch area using a heavy roller to compact the soil and create a firm foundation for the playing surface.
- Apply additional fertilizer or soil treatments as needed to address any deficiencies and promote optimal grass growth.
1 Week Before Match Day
- Continue rolling the pitch area regularly to further compact the soil and enhance surface firmness.
- Trim grass height to match the desired playing conditions for the upcoming match.
- Monitor weather forecasts closely and adjust watering schedules accordingly to maintain ideal moisture levels.
3 Days Before Match Day
- Conduct a final inspection of the pitch area to ensure it meets the required standards for play.
- Make any last-minute adjustments or repairs as needed to address any issues that may arise.
- Apply a light dressing of fertilizer or soil conditioner to promote grass health and resilience during the match.
1 Day Before Match Day
- Complete final preparations for the pitch area, including marking boundaries and applying any necessary finishing touches.
- Water the pitch area lightly to ensure optimal playing conditions for the upcoming match.
- Cover the pitch area overnight if necessary to protect it from adverse weather conditions.
Match Day
- Remove any covers or protective measures from the pitch area in preparation for the match.
- Conduct a final inspection of the pitch area to ensure it is in optimal condition for play.
- Make any last-minute adjustments or repairs as needed to address any issues that may arise.
- Ensure that all equipment and facilities are in place and ready for the start of the match.
By following these meticulous steps and adhering to proper maintenance practices, groundsmen can create cricket pitches that provide an ideal playing surface for matches at all levels.
How Are Cricket Pitches Made?
The construction of a cricket pitch is a meticulous process that requires attention to detail and careful maintenance. By understanding the steps involved and the importance of soil selection, groundsmen can create pitches that provide an exciting and fair playing surface for cricket enthusiasts worldwide. So, the next time you watch a cricket match, take a moment to appreciate the craftsmanship behind the pitch!
FAQs about Cricket Pitch
What is the Cricket Pitch Length? (cricket pitch ki lambai)
The Cricket Pitch is 22 yards (20.12 meters or 66 Feet) long and 10 feet (3.05 meters) wide.
Is women’s cricket pitch smaller than men’s?
In cricket, both men’s and women’s games have the same size for the pitch and close infield. However, there are differences in the boundaries. According to regulations, boundaries must not exceed 70 yards (64 meters), and no boundary should be shorter than 60 yards (54.86 meters) from the center of the pitch. In men’s cricket, the boundaries are larger, ranging from a minimum of 65 yards (59.43 meters) to a maximum of 90 yards (82.29 meters).